How-To: Change Wifi on Netatmo
This is the process to change the Wifi on a Netatmo that has already been added to an account.
Things you will need to start:
- Mobile Device, either Apple or Android, and it must be up to date.
- Wifi should be on and connected to the same network you will connect the sensor to
- Bluetooth needs to be turned on not connected to any devices, so no watches or headphones.
- Netatmo App, it's called "Healthy Home Coach" and you can download it from your App Store or Play Store
- Login Credentials, you can get that from Lynx, you should have this information before you attempt to change the device wifi.
- Please have your phone connected to the local wifi before you proceed.
| Step 1: |
Open the app and click the menu button in the top left corner. |
| Step 2: | Click the 'Configure Wifi' option 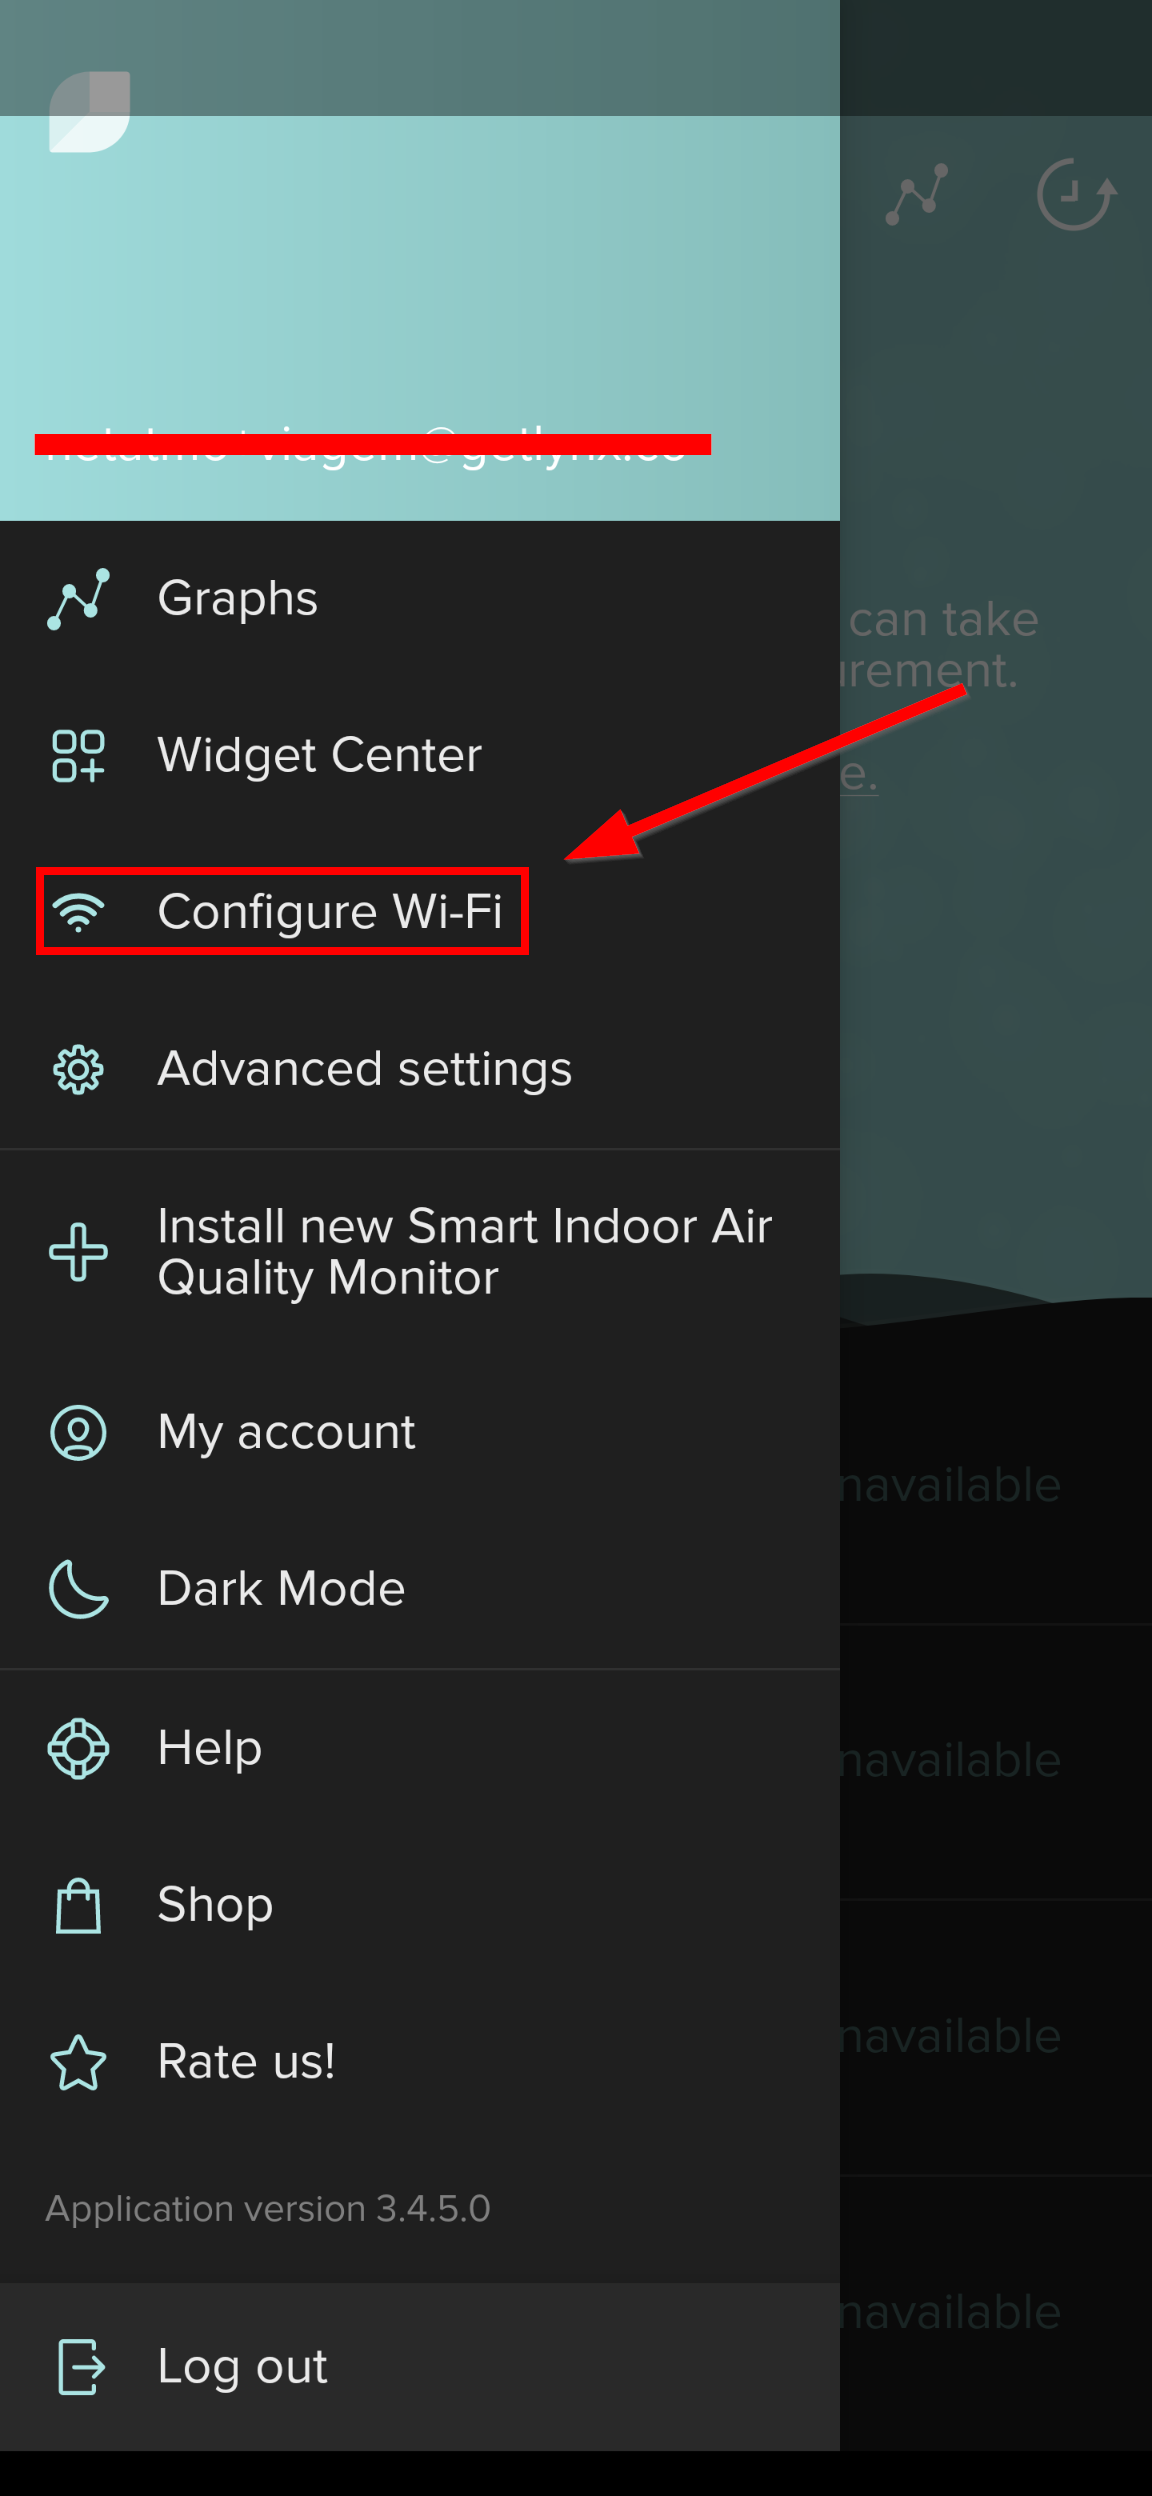 |
| Step 3: |
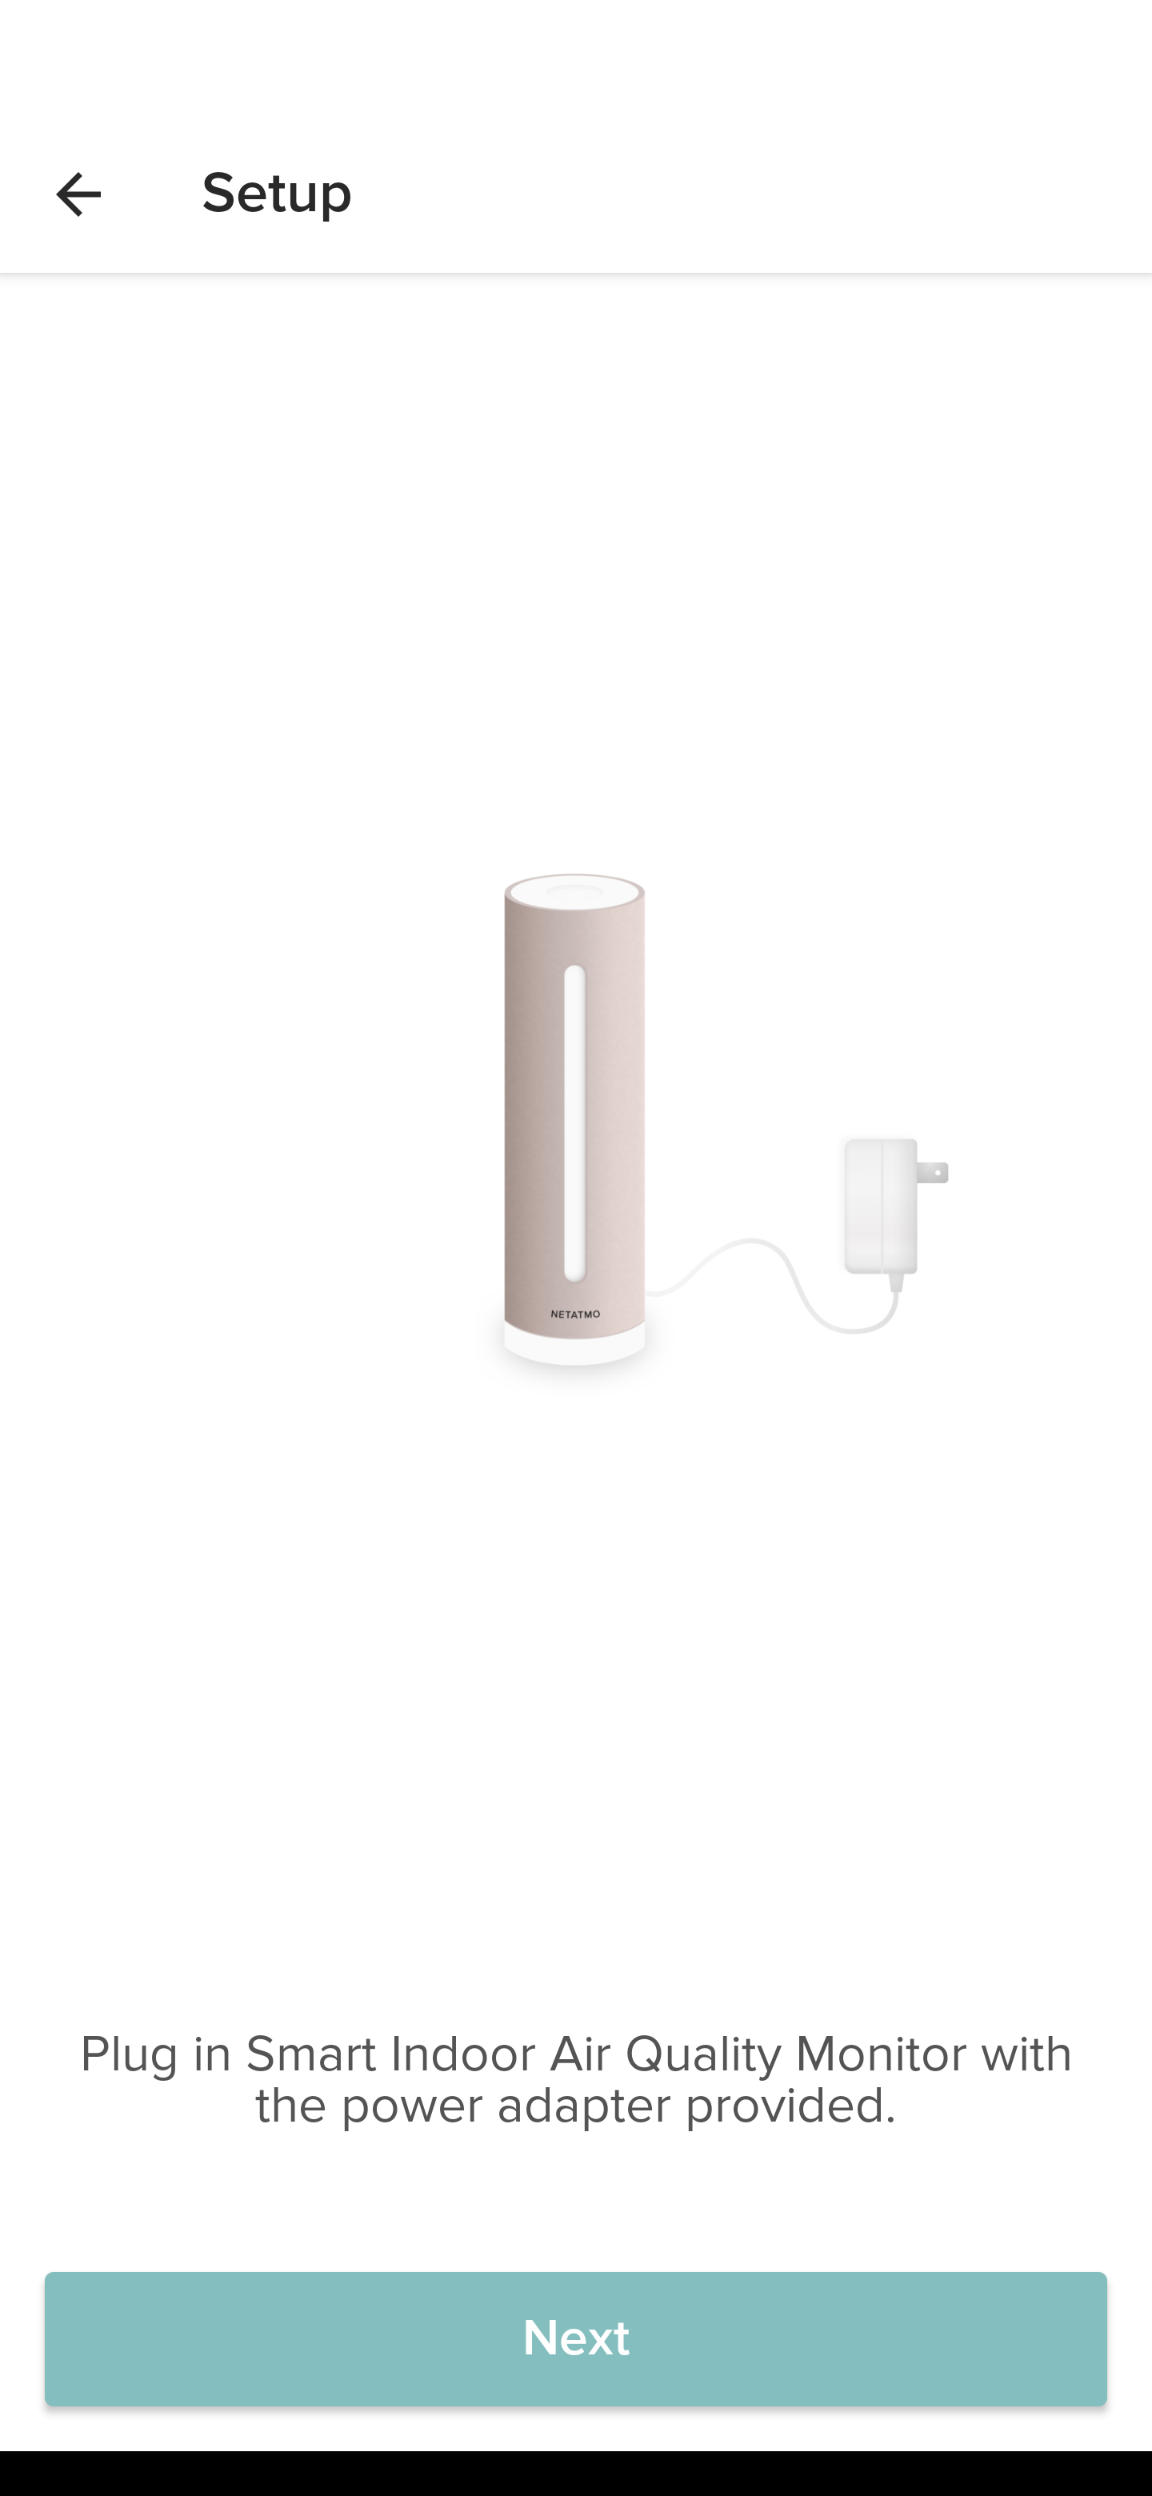
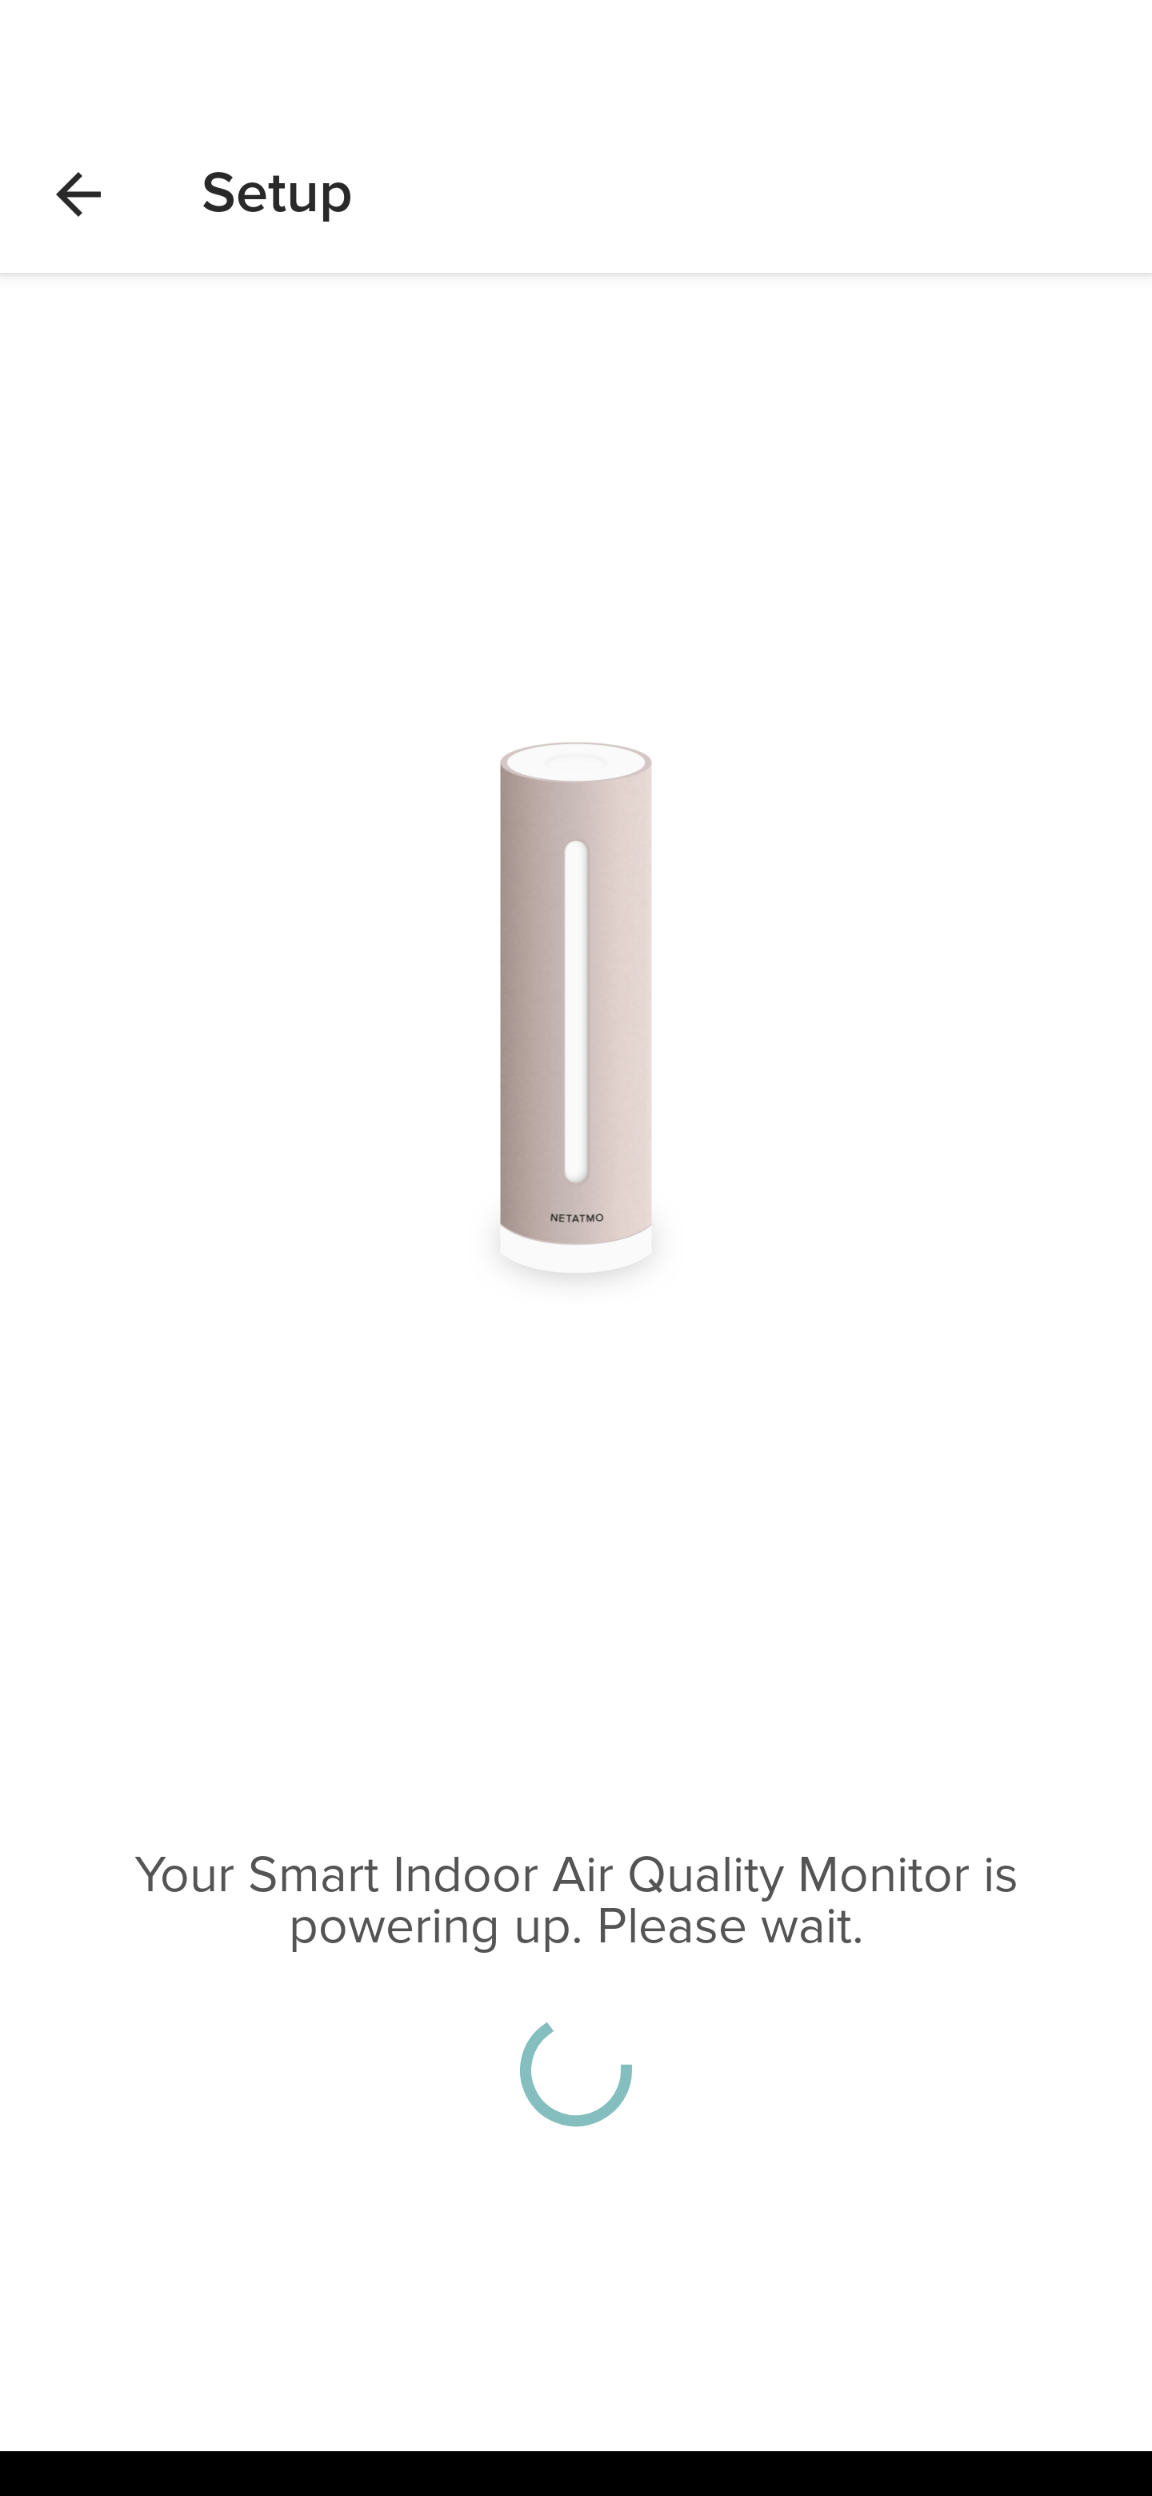
The app will now walk you through the process, starting with verifying the device is plugged in |
| Step 4: | There is a button on the Netatmo device, at the very top. You will need to hold this button down until the device turns white and starts blinking. 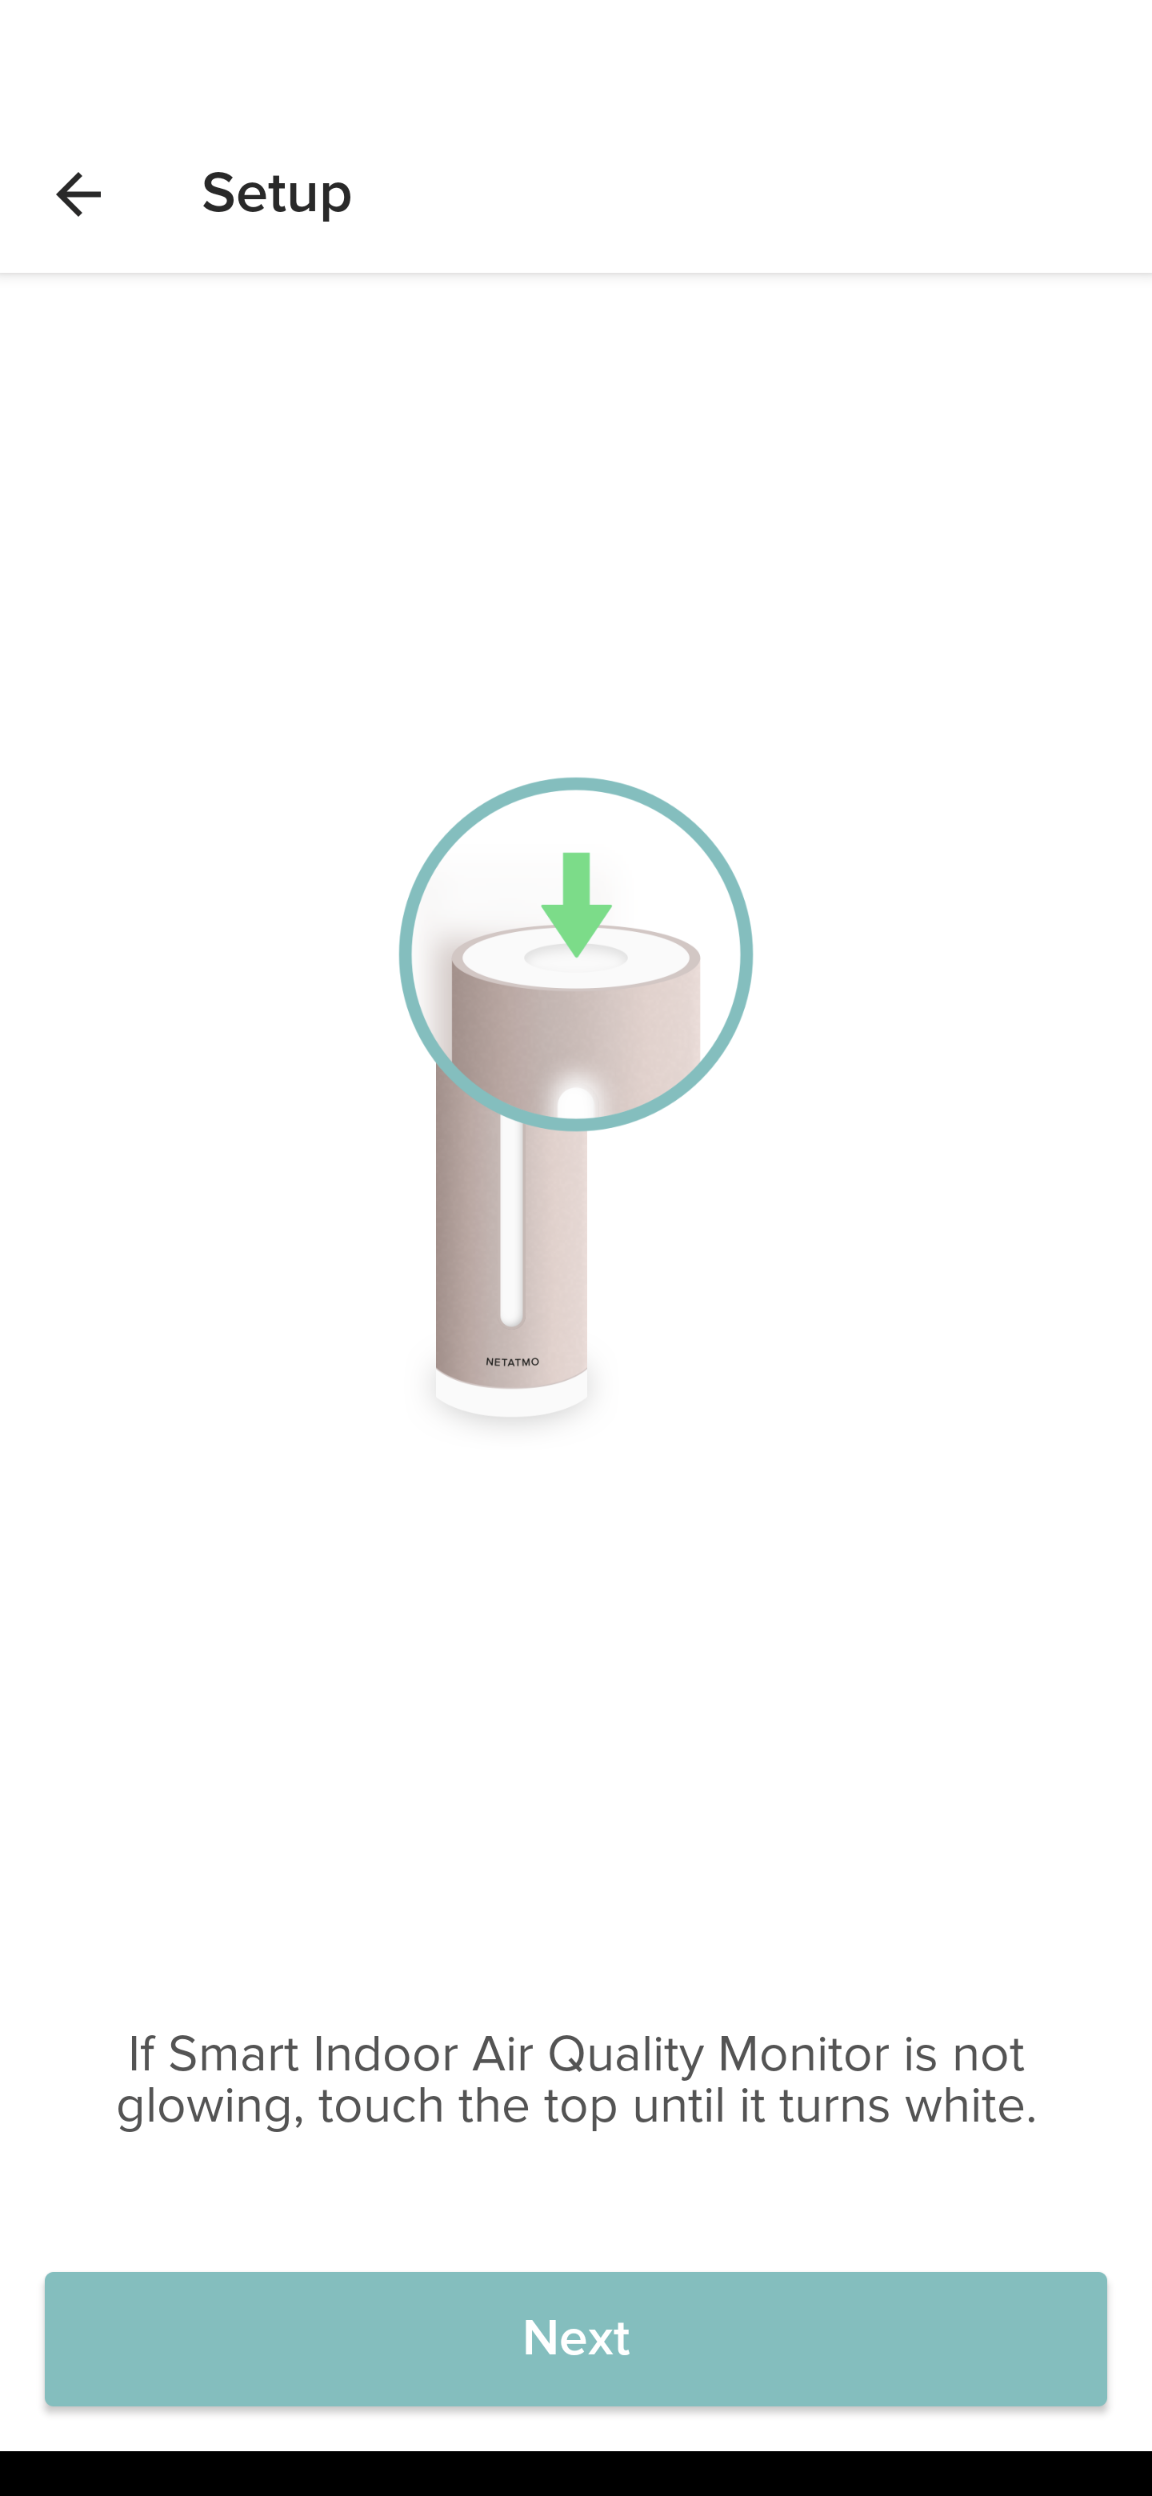 |
| Step 5: |
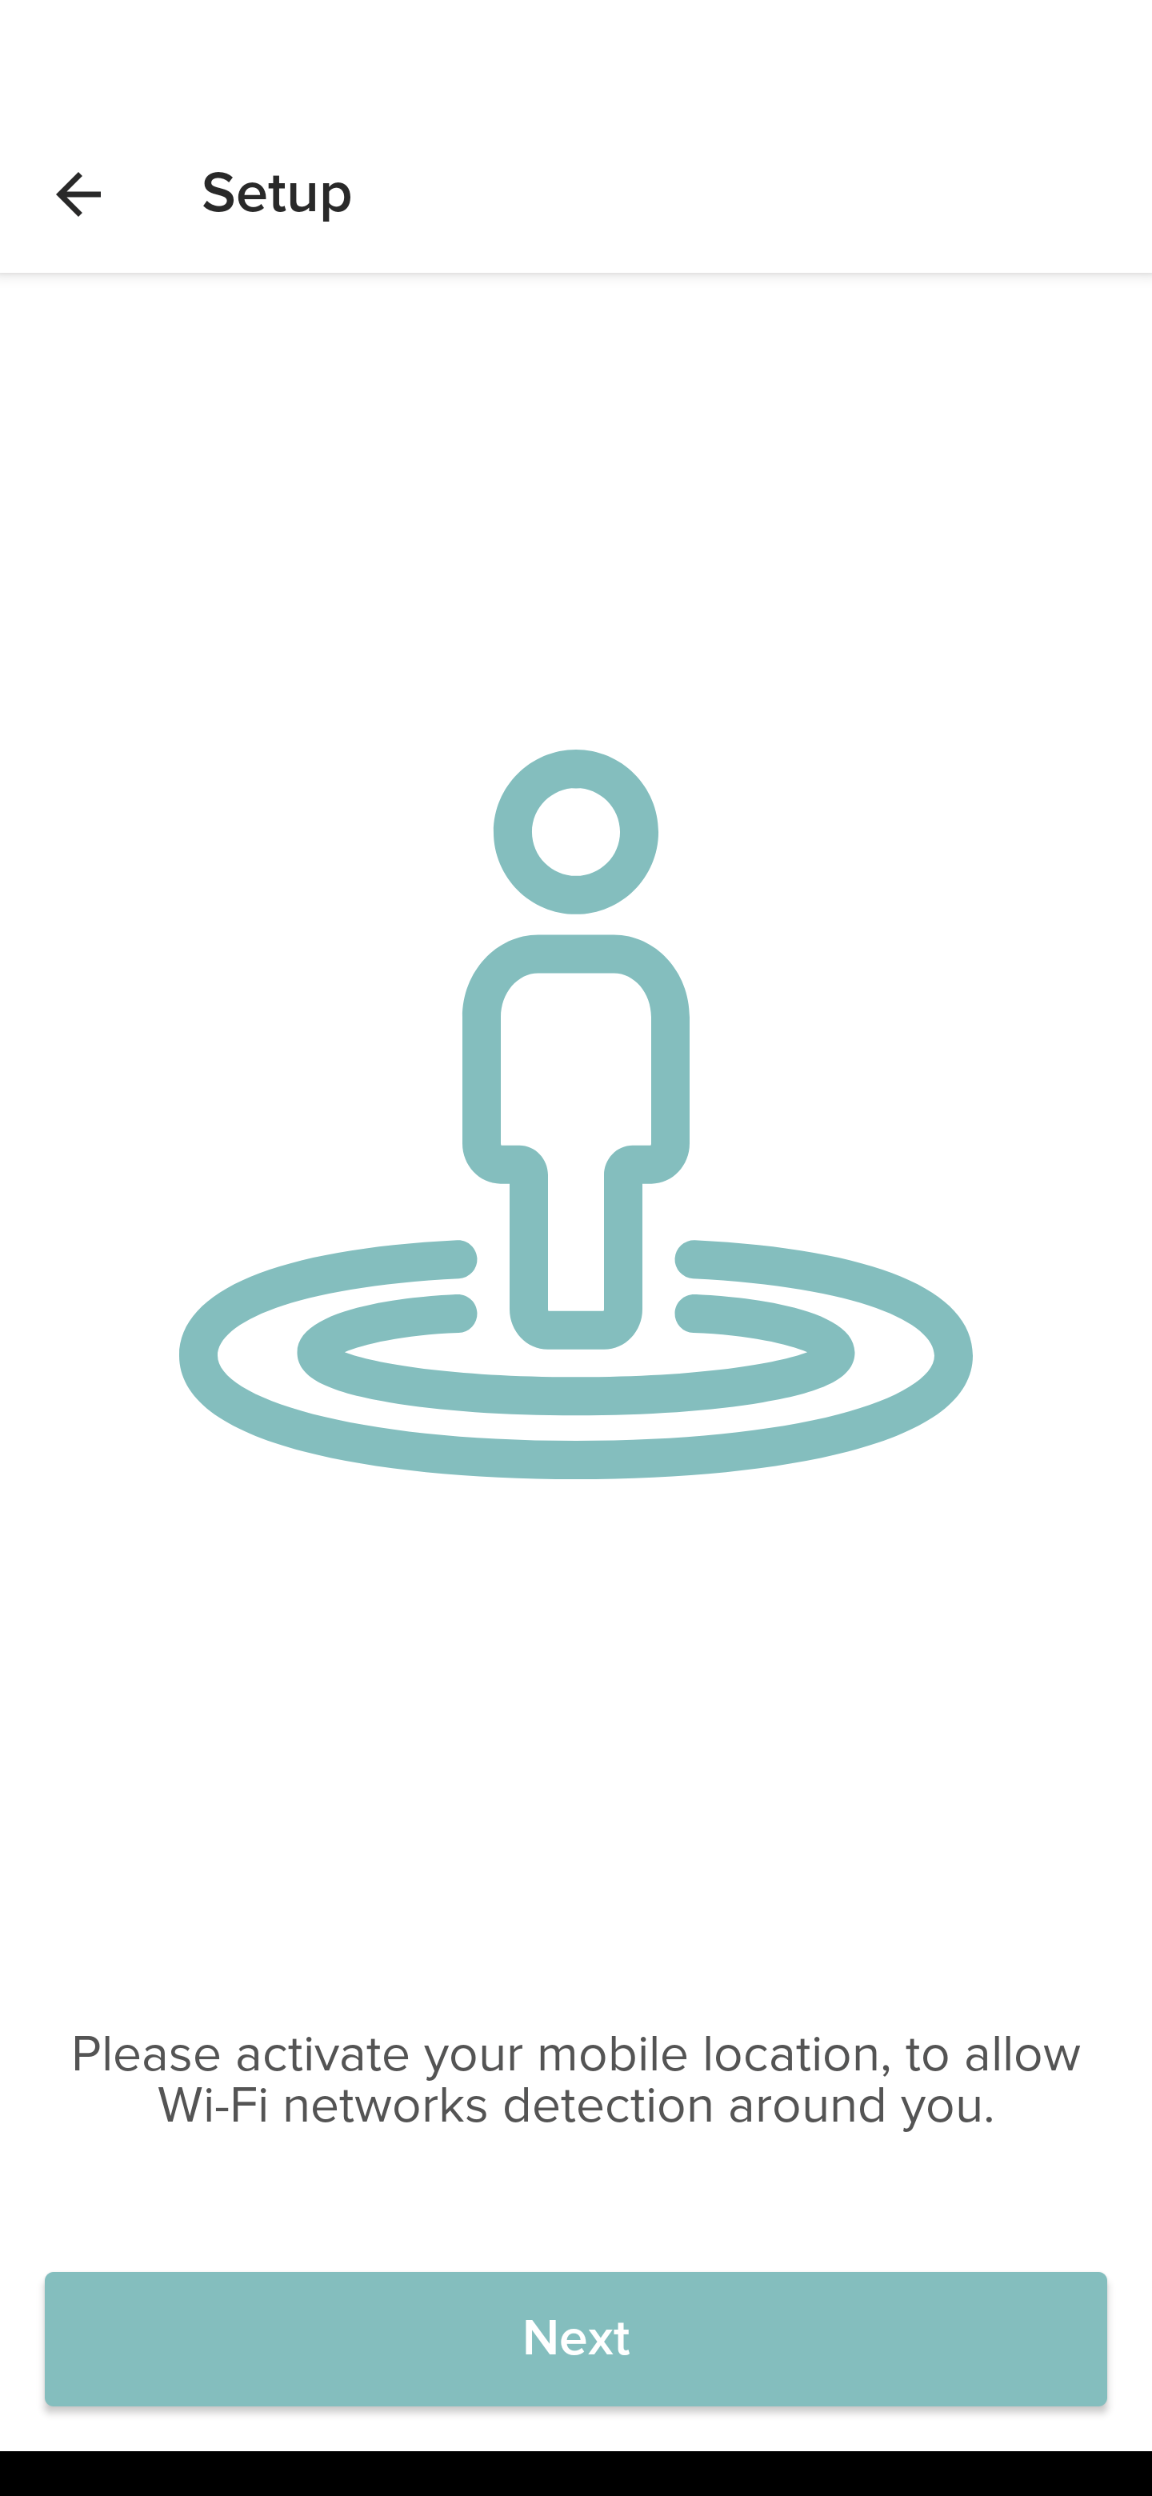
Follow the steps and allow the app to connect with your device. You will need to give the app location permission. |
| Step 5: |
The app will now connect to the device and allow you to select your network. Follow the rest of the steps to complete set up.
|
| Step 6: |
Once set up is complete, you should see an updated status on the app as well as Lynx. |
| Learn how to Set Up a Smart Rules after you have created a group. |
Comments
0 comments
Article is closed for comments.